Material guide · Back-view evidence
Can you make a clothing video without a back image?
Not if the video needs to show the real back. Without a back image, do not generate a back view, front-to-back transition, model turn, or 360-degree rotation. Capture the missing evidence first.
See how the three-image workflow defines available shots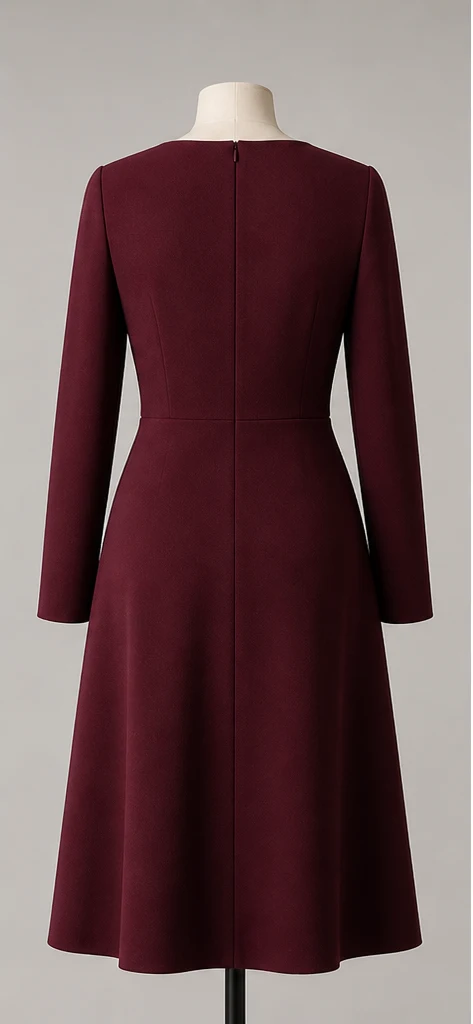
01
Why a front image cannot stand in for the back
A front product image can prove the visible neckline, silhouette, print, and construction. It cannot prove whether the back has a zipper, vent, tie, cutout, graphic, or a different seam layout. An AI model may create a visually plausible answer, but plausible is not the same as the garment you sell.
For a product video, that distinction matters. An invented belt, missing opening, or shifted print can create the wrong buyer expectation. The three-image clothing video workflow assigns a role to every image so each shot has identifiable source evidence.
- Front image: proves the overall front silhouette and visible graphics.
- Back image: proves the actual back construction and supports back-facing shots.
- Detail image: proves visible fabric, collar, cuff, hardware, or print details.
02
Can the public workflow accept only two images?
No. AI Clothes Video currently asks you to choose a three-image protocol and upload three valid images of the same garment. The recommended product-view protocol uses front, back, and detail images.
“Do not show the back without evidence” and “submit only two images” are different product behaviors. The first is a generation boundary; the second is not a public capability today. If the back image is missing, complete the source set instead of using an unrelated image to fill the slot.
Review the material and authorization questions or compare your source set with the traceable clothing examples before uploading.
03
How to capture a usable clothing back image
You do not need a complex new campaign shoot, but the replacement image must make the product evidence clearer rather than introduce another contradiction.
- 01Use the exact same SKU, color, trim, and product version as the front image.
- 02Show the complete back construction without hair, arms, outerwear, or props covering key areas.
- 03Keep zippers, ties, vents, seams, and graphics sharp enough to inspect.
- 04Avoid filters or aggressive retouching that changes color or removes real construction.
- 05Keep the garment scale reasonably close to the front image so the two views are easier to compare.
- 06Confirm that you hold the necessary image, likeness, and commercial-use rights.
04
Requests to avoid even after you add a back image
One back image does not automatically make every motion safe. Continuous 360-degree rotation and large model turns require more complete views and stricter consistency checks. A style choice cannot override those source requirements.
When the material supports only a stable product view, a restrained push-in, pan, or small framing change communicates the item more honestly than an unsupported dramatic move. Read why AI clothing videos drift or deform to understand how shot motion changes the risk.
05
Complete the evidence before generating
Place the front, back, and detail images side by side. If you can already see a color, pattern, trim, or silhouette mismatch, do not expect generation to reconcile it. Replace the conflicting image first, then start with a low-risk shot and review the complete video.