Source checklist · SKU consistency
How do you check whether clothing images show the same SKU?
Place every source image side by side and verify the product facts, not just the filename. Color, silhouette, print placement, hardware, and construction must describe the same SKU before you plan motion.
See where each source image fits in the three-image workflow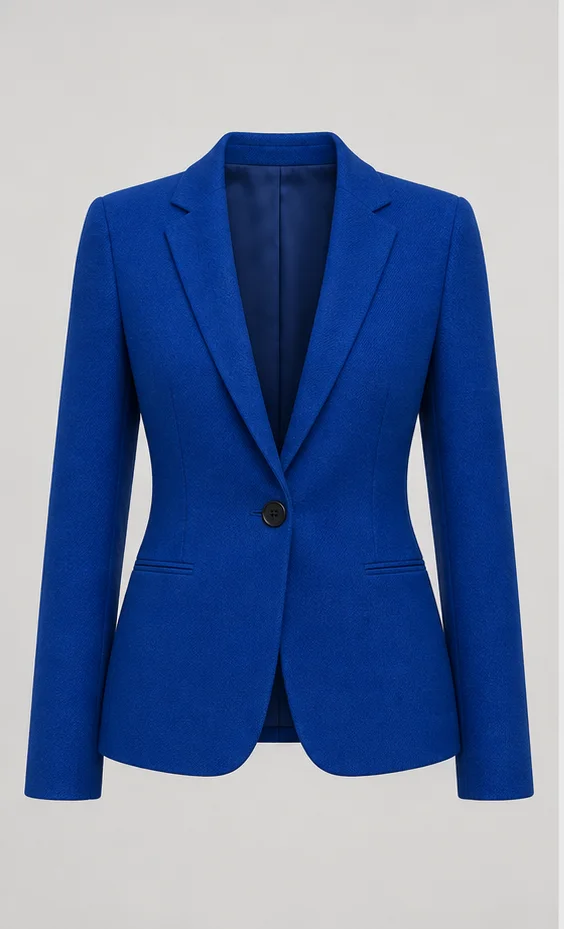
01
The same filename does not prove the same product
Two images can share a product code and still show different colors, samples, production runs, or retouched versions. AI video generation has to reconcile everything visible in the frame, so a small source disagreement can become a moving color shift, changing button, or unstable hem.
The three-image workflow treats front, back, and detail images as evidence for one garment. Before uploading, your job is to confirm that those pieces of evidence agree.
02
Run a five-point same-SKU check
Open the images at a similar scale and compare fixed product facts. Do not rely on an overall impression; inspect the places most likely to reveal a nearby colorway or sample version.
- Color and material: compare neutral areas, highlights, knit density, sheen, and wash effects.
- Silhouette and proportions: check length, shoulder width, waist position, sleeve shape, and hem.
- Print and panel placement: match repeats, logo position, stripes, seams, and color blocking.
- Trim and hardware: count buttons, pockets, zippers, snaps, ties, labels, and decorative pieces.
- Construction details: compare neckline, cuffs, vents, pleats, lining, and back closures.
03
Separate photography differences from product differences
Lighting, white balance, camera distance, and pose can make a matching garment look different. A warm studio light may shift color; a close detail crop may enlarge a print; a model pose may change the apparent hemline. These are photography differences, not automatic proof of a mismatch.
Look for facts that should not move with the camera: the number of buttons, the order of stripes, the location of a seam, or the shape of a zipper pull. If those disagree, replace the image. If only exposure or crop differs, choose the clearest set and keep the planned motion restrained.
04
What to do when one source image conflicts
Do not ask the prompt to choose the correct version. A text instruction cannot erase conflicting visual evidence. Resolve the source set before generation.
- 01Identify the exact conflicting fact, such as color, button count, print position, or length.
- 02Check the product record or original shoot folder to determine which image belongs to the active SKU.
- 03Replace the outlier with a front, back, or detail image from the same product version.
- 04If no replacement exists, capture the missing view instead of filling the slot with a similar item.
- 05Repeat the side-by-side check and confirm the required image and likeness rights.
05
Match the source set before choosing shots
Once the three images agree, decide what each one can actually support. A real back view can support back-facing options; a visible detail can support a restrained close-up. The guide to why clothing videos deform or drift explains what happens when sources disagree, while the model, mannequin, and flat-lay comparison helps you choose the right source format.
For a visual benchmark, compare the traceable sets on the source examples page. Your own SKU still needs its own evidence check.