Shot planning · Buyer questions
How to plan a clothing product video shot list
Give each 8-second shot one buyer question, one identifiable source image, and one restrained motion. If you cannot point to the evidence for a shot, remove it or capture the missing view.
See how the three-image workflow limits available shots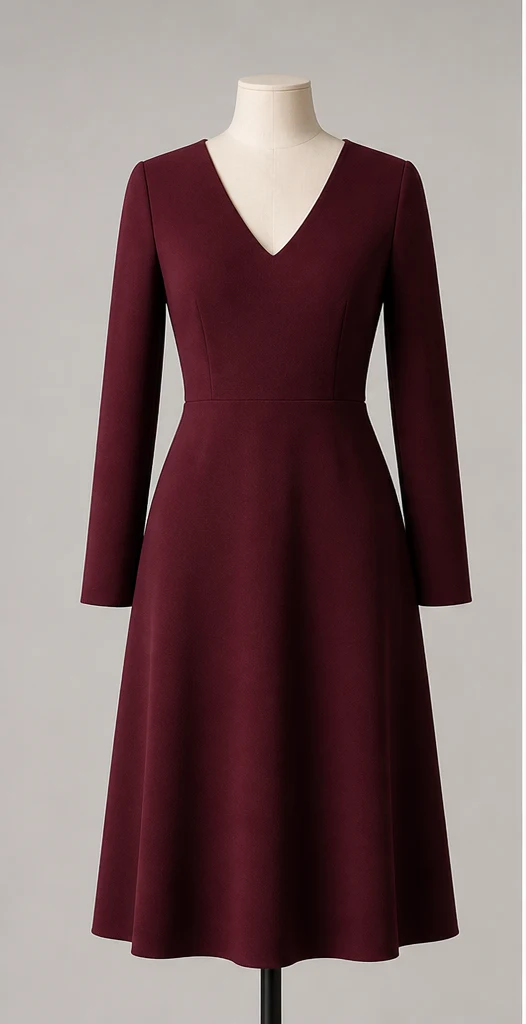
01
Start with buyer questions, not camera moves
A useful product video helps a shopper inspect something specific: overall silhouette, back construction, visible texture, print placement, or fit. Writing “cinematic orbit” first gives the model a motion request but gives the buyer no reason for that motion.
In the three-image workflow, available shots come from the source roles and template rules. Build the shot list inside those boundaries, then choose a style preset for tone.
02
Map each question to source evidence
Use this map as a planning gate. The source column must name an image that actually contains the information; a prompt is not a substitute for a missing view.
| Buyer question | Required source evidence | Lower-risk shot idea |
|---|---|---|
| What is the overall front silhouette? | Clear front image of the same SKU | Stable hero frame with a slow push-in |
| What does the real back look like? | Unobstructed back image | Back-facing product frame or a permitted front/back sequence |
| Where are the visible details? | Sharp detail image matching the main product | Restrained close-up or small pan across the visible detail |
| How does it fit or drape? | Authorized adult model image showing that fit | Small framing change that preserves the visible pose |
03
Use one job per 8-second segment
Treat each 8-second segment as one information job. An 8-second video answers one question; 16 seconds can answer two; 24 seconds can answer three; 32 seconds can answer four only when the source set supports four distinct jobs.
The video length guide helps you decide how many questions the SKU needs to answer. Do not stretch one weak idea across extra segments or repeat the same motion to make the video look longer.
04
Set a motion budget for every shot
Motion should reveal existing evidence, not force the model to invent intermediate views. A slow push-in changes scale; a small pan changes framing. A large turn, orbit, or perspective shift asks for substantially more unseen structure.
Start with the smallest motion that communicates the product fact. Increase movement only when the required angles are present, the relevant template is enabled, and the result can be reviewed for drift.
- Front-only evidence: prefer stable framing, a slow push-in, or a limited pan.
- Front and real back evidence: consider only the back or transition options allowed by the current rules.
- Detail evidence: keep the crop on the detail that is actually visible.
- Incomplete multi-angle evidence: do not request a continuous 360-degree reconstruction.
05
Write and review the shot list
Before generation, use a short worksheet. After generation, review the complete motion rather than only the cover frame. Remove a shot if its product value is unclear or its evidence cannot be named.
- 01Write one buyer question for the segment.
- 02Name the front, back, detail, or authorized model image that answers it.
- 03Choose an enabled template whose permissions match that evidence.
- 04Specify the smallest useful movement and avoid unsupported angles.
- 05Check the result against the source set, including transitions and final frames.
06
Fix source conflicts before finalizing the plan
A clean shot list cannot repair mismatched inputs. Run the same-SKU consistency checklist before assigning shots. If the source set conflicts, replace the image first; if a view is missing, narrow the plan.