Source guide · Detail evidence
How to photograph clothing details for AI video
Photograph one visible product fact at a time, but keep enough surrounding garment structure to identify where the detail belongs. A sharp fabric patch with no recognizable anchor is not a reliable detail source.
See how detail evidence fits the three-image workflow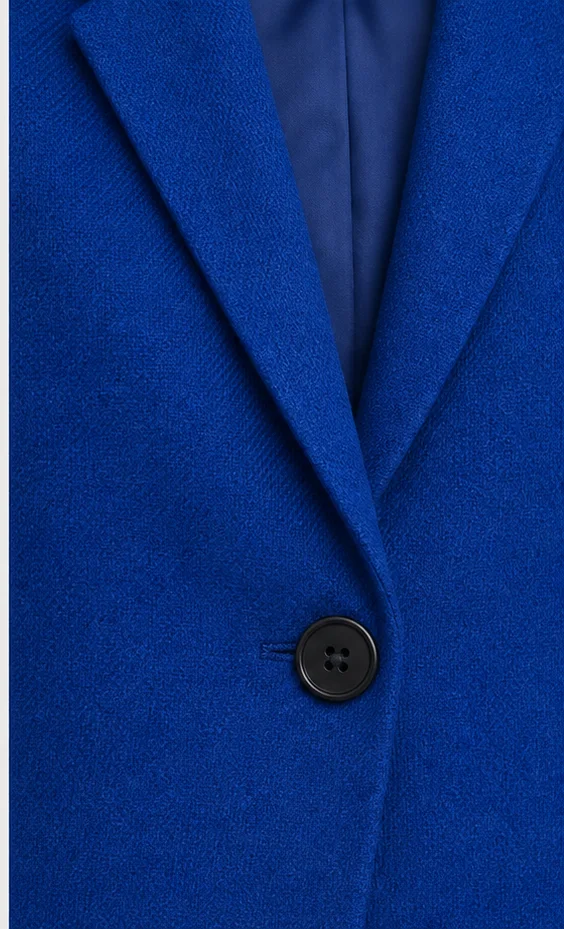
01
Start with one buyer question
A detail image should answer something a shopper may reasonably inspect: how a closure works, where a print sits, what the cuff looks like, or which visible texture defines the garment. Trying to capture every feature in one crop usually makes none of them clear.
The three-image workflow assigns the detail slot to visible evidence. It does not turn a generic texture sample into proof of every fabric property or hidden construction.
| Buyer question | Useful detail frame | Avoid |
|---|---|---|
| How is it fastened? | Closure plus nearby seam or neckline | A cropped button with no garment context |
| Where is the print placed? | Print plus a recognizable edge or panel | A pattern swatch from another product |
| What does the cuff or collar look like? | Complete cuff or collar with its attachment | A partial edge cut off by the frame |
| What visible texture is present? | Sharp surface detail plus a matching construction cue | An extreme macro that hides color and location |
02
Keep a recognizable garment anchor
Move close enough for the feature to be readable, then leave one stable anchor in frame: a lapel edge, pocket opening, waist seam, zipper track, sleeve join, or print boundary. That anchor helps a reviewer match the crop to the front and back images.
If nobody can tell where the crop came from when the three images are placed side by side, widen the frame. The goal is product evidence, not the closest possible macro.
03
Protect color, sharpness, and construction
Use even light, avoid colored reflections, and focus on the feature rather than the background. Strong filters, beauty retouching, fabric smoothing, and oversharpening can change the product fact you are trying to preserve.
- Keep the complete feature inside the frame without cutting off its edges.
- Remove hands, tags, props, or hair when they cover the relevant construction.
- Use the same product color and version as the front and back images.
- Check that highlights do not erase stitching, texture, or hardware shape.
- Do not claim softness, weight, stretch, or composition from appearance alone.
04
Match the detail to the same SKU
A beautiful close-up from a nearby colorway is still the wrong source. Compare button count, thread color, print order, seam placement, and hardware shape against the main product images before uploading.
Run the same-SKU consistency checklist when the crop is hard to identify. If the detail cannot be confirmed, reshoot it instead of asking a prompt to reconcile the difference.
05
Plan only the close-up the image supports
A detail image can support a restrained close-up of the visible feature when the corresponding template is available. It does not prove an unseen lining, reverse side, full fabric behavior, or another part of the garment.
The same evidence rule applies to missing views. If you also need real back construction, follow the back-image capture checklist rather than trying to extract it from a detail crop.