Source triage · Reshoot decision
When should you reshoot clothing photos before making an AI video?
Reshoot when the missing information is a real product fact: an unseen back, covered closure, unreadable print, wrong colorway, contradictory construction, or detail with no identifiable location. Re-export or recrop only when the evidence already exists and the problem is technical.
Review the evidence required by the three-image workflow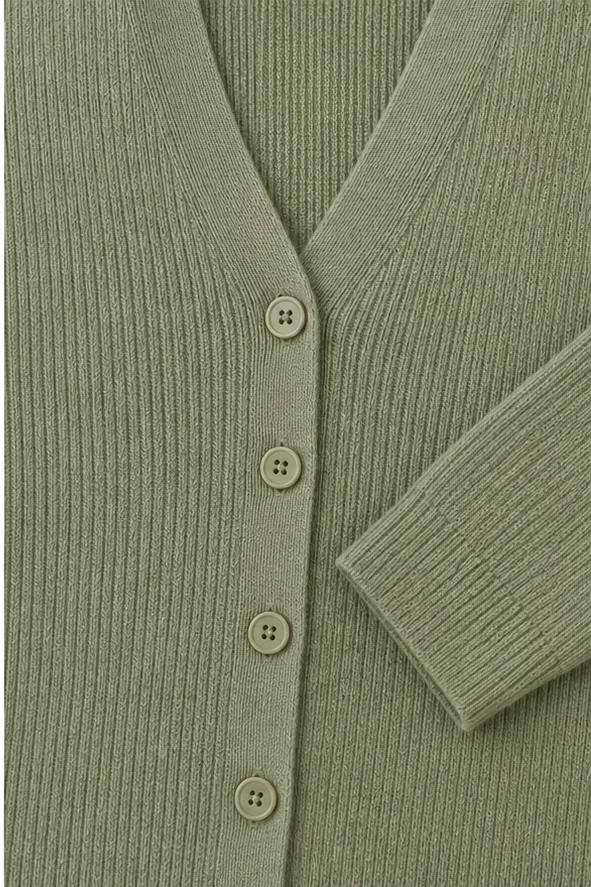
01
Separate a file problem from an evidence problem
A file can be inconvenient while still containing the right garment fact. It can also be sharp and polished while proving the wrong color, version, or view. Before scheduling photography, state exactly what the planned shot needs to know.
The three-image workflow assigns front, back, and detail roles. If a role has no trustworthy image, resolution enhancement and stronger prompts cannot create that missing evidence.
02
Fix technical delivery problems without reshooting
Keep the original capture when the product fact is visible and accurate. Make only changes that preserve the garment rather than redesigning it.
| Problem | Possible fix | Boundary |
|---|---|---|
| Wrong file format or oversized export | Re-export from the original | Do not recompress until text and texture disappear |
| Too much empty space | Recrop while retaining the complete required view | Do not cut sleeves, neckline, waist, or hem |
| Slight exposure imbalance | Apply restrained global correction | Do not change the product color or local fabric structure |
| Distracting background edge | Use a clean crop or a better existing original | Do not redraw garment boundaries |
03
Reshoot when the product fact is absent or unreliable
A reshoot is necessary when no existing file can answer the buyer question. Trying to repair these cases with generative editing moves the uncertainty into the source set and makes later QA harder.
- The required front, back, side, or detail view was never photographed.
- Hair, hands, outerwear, tags, props, or cropping cover the relevant construction.
- Images show different colorways, trims, prints, samples, or production revisions.
- White balance or reflections make the true product color impossible to determine.
- Blur, compression, glare, or shallow focus removes the exact detail the shot needs.
- A close-up has no recognizable garment anchor, so its location cannot be verified.
04
Plan the smallest reshoot that closes the gap
Do not repeat an entire campaign shoot when one controlled evidence image is missing. Record the SKU, color, sample version, required view, visible construction, lighting reference, and crop before taking the replacement.
For a missing close-up, follow the clothing detail photography guide. For a missing rear view, use the back-image capture checklist instead of substituting another front angle.
- 01Name the buyer question the replacement image must answer.
- 02Match the exact SKU, colorway, trim, and production version.
- 03Recreate neutral light without colored reflections or beauty filters.
- 04Show the complete required structure with a small safety margin.
- 05Place the new image beside the existing set and verify agreement.
05
Run one final source-set decision
Use the same-SKU checklist after every replacement. If all images agree, move to a low-risk test. If two sources still contradict each other, stop and identify which file represents the product currently being sold.
A small reshoot costs time, but repeated generation from unreliable inputs costs time without resolving the source of the problem. The goal is not perfect photography; it is a source set that makes each planned product fact auditable.